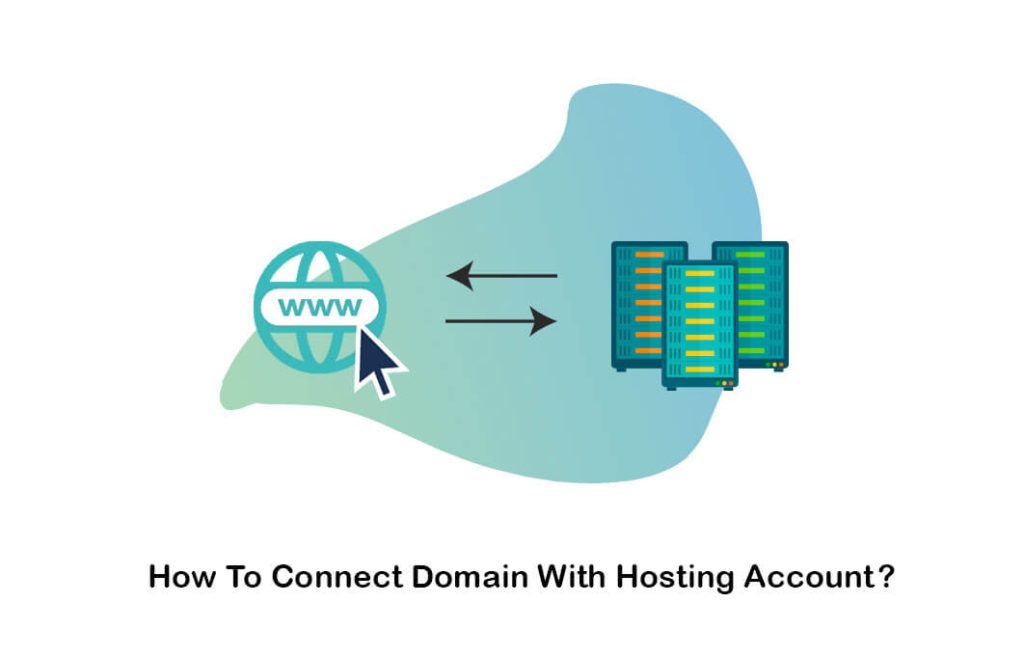
Connecting a domain to hosting is an essential process for making your website accessible on the internet. Here’s a step-by-step guide on how to connect a domain to hosting:
Table of Contents
Step 1: Choose and Purchase a Domain

- Register a Domain Name:
- Go to a domain registrar and register a domain
- Search for your preferred domain name and ensure it’s available.
- Complete the registration and purchase the domain.
Step 2: Purchase Hosting

- Select a Hosting Provider:
- Choose a hosting provider
- Purchase a hosting plan that suits your website’s needs.
Step 3: Access Domain Name Settings
- Log In to Your Domain Registrar:
- Sign in to the account where you purchased your domain.
- Locate the domain settings or DNS management panel.
Step 4: Get Nameserver Information from Hosting Provider
- Log In to Hosting Account:
- Sign in to your hosting provider account.
- Find the nameservers (NS) provided by your hosting provider, which typically look like:
ns1.hostprovider.comns2.hostprovider.com
- This information may be located in your hosting dashboard or in the welcome email from your hosting provider.
Step 5: Update Domain Nameservers
- Modify DNS Settings at Domain Registrar:
- Go back to your domain registrar’s control panel.
- Find the section to edit nameservers (sometimes called DNS settings).
- Replace the existing nameservers with the ones provided by your hosting provider.
- Save the changes.
Step 6: Wait for DNS Propagation

- DNS Propagation Time:
- After changing the nameservers, it takes some time for the changes to propagate globally (usually between 24 to 48 hours, but sometimes sooner).
- During this time, your domain may not be accessible.
Step 7: Add the Domain to Hosting Account
- Log In to Your Hosting Provider:
- Go to the hosting provider’s dashboard (usually cPanel or a custom dashboard).
- Find the option to add a new domain, which might be under “Domains” or “Addon Domains.”
- Add the Domain:
- Enter the domain name you want to connect.
- Complete any additional settings, such as setting up a directory where your website files will be stored.
- Confirm the domain is added to your hosting account.
Step 8: Upload Website Files

- Access File Manager or Use FTP:
- Access your hosting account’s file manager (such as cPanel File Manager).
- Alternatively, use an FTP client (such as FileZilla) to upload your website files to the server.
- Place the files in the correct directory (usually the
public_htmlor a designated folder for your domain).
Step 9: Verify Domain Connection
- Check the Website:
- After the DNS propagation is complete, visit your domain to ensure it loads the website properly.
- If it doesn’t load, check the nameservers again, ensure the domain is correctly added to your hosting account, and verify that the files are uploaded correctly.
Optional Step: Set Up SSL Certificate

- Install SSL Certificate:
- Many hosting providers offer free SSL certificates (e.g., via Let’s Encrypt) to secure your website.
- Log in to your hosting control panel and install the SSL certificate for your domain.
- Verify that the site loads securely with “https://”.
This process will successfully connect your domain to your hosting and make your website live on the internet.


